

Last week, I had the pleasure of creating this cake for a little boy who turned 3 years old this weekend. He had a horse-themed birthday party and his Mom, a friend of mine, wanted a cake to match.
She approached me about a month ago and I went a little crazy looking up ideas and thinking about it all. My poor friend! In the end, I think she was happy with all of my excited efforts!
When someone starts talking about a cake, I can't help myself! My brain starts spinning with ideas and the process of figuring out how to do new things.
This cake really was a whole lot of fun to do. It is definitely one of my favorites! And it included a lot of firsts for me, including the sweet little horse on the top.

I love how all of the little details came together. Like how the little rope hanging on the side of the barn connects to the name on the front of the top tier.

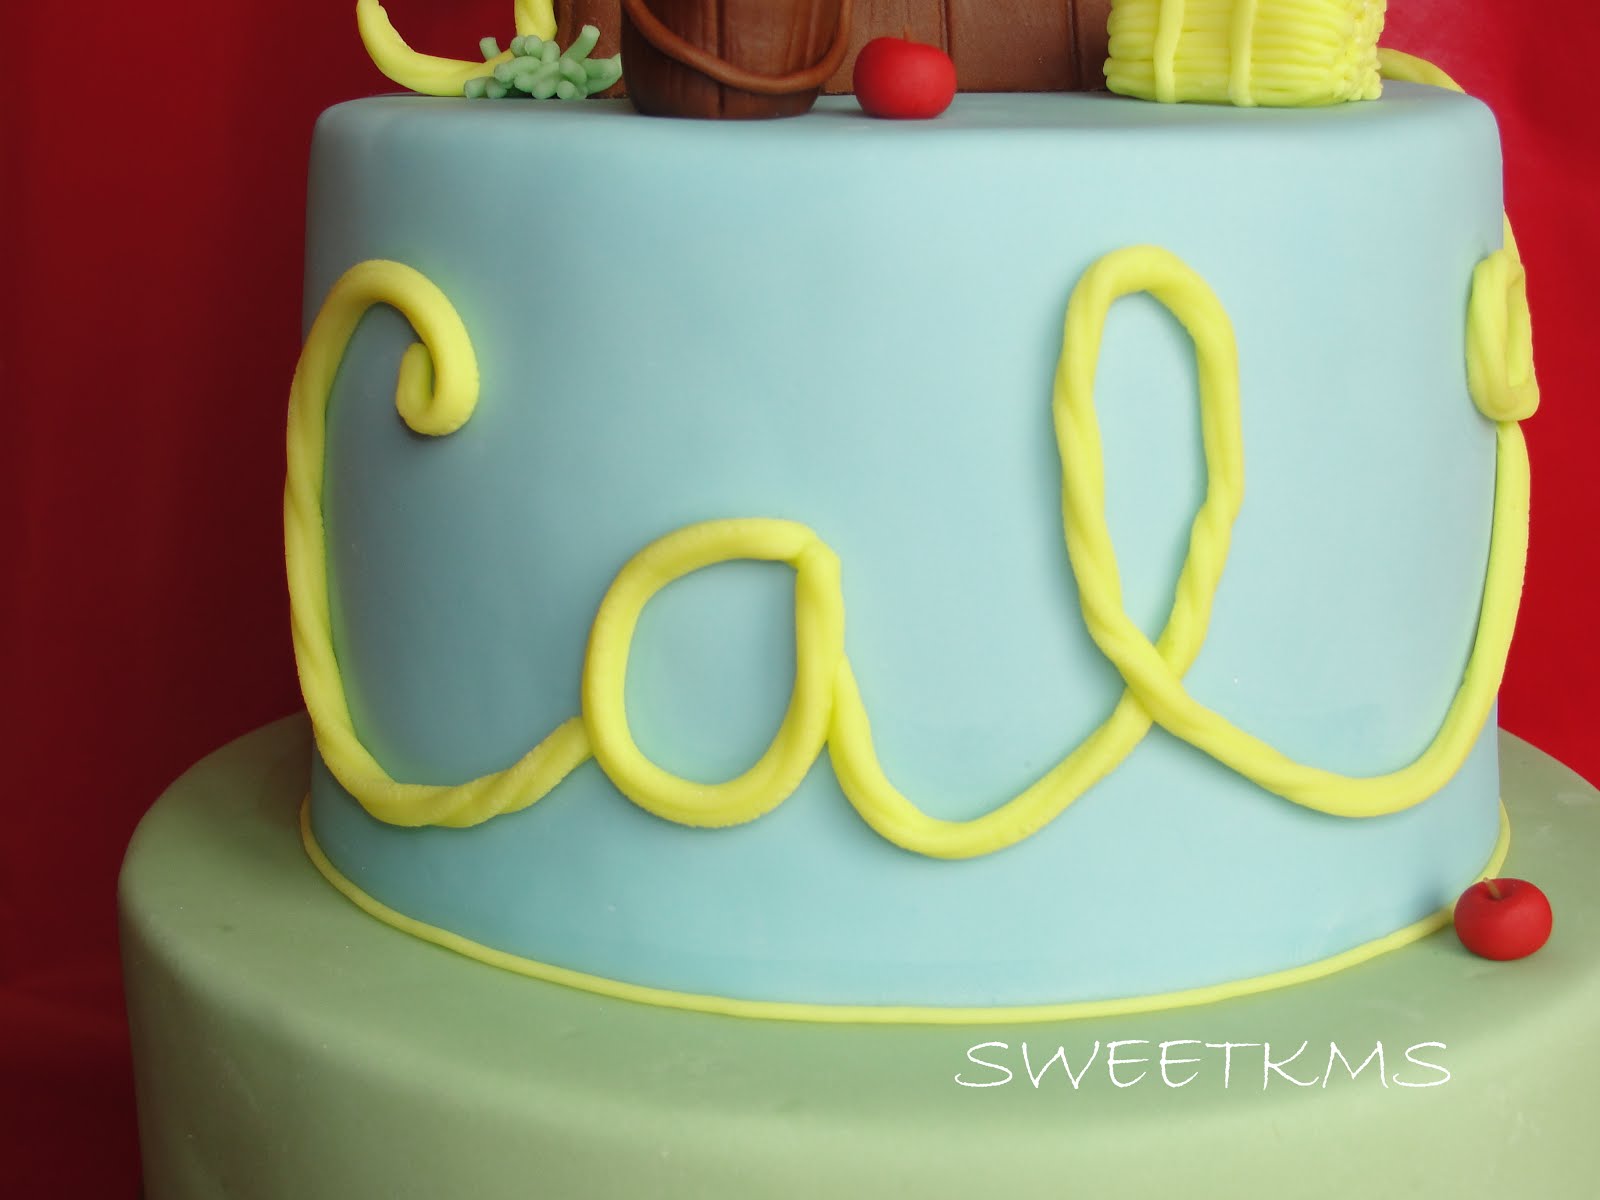
And the little bucket of apples with the same wood-grain detail that is on the little horse barn.

To do the wood-grain look, I started with brown fondant, measured and cut to size. I then took a knife tool and scored fairly deep lines spaced evenly to make the "boards." With the same knife tool, I made very shallow lines parallel to and in between the deeper lines. These shallower lines are the grains of the wood. This alone would work, but the whole effect is better with some added color. I added color by taking some dark brown gel food coloring mixed with a little vodka and painting it lightly onto the fondant. With a dry paper towel, I wiped some of the moisture and color away from the surface, leaving deeper color in the grooves.
I really liked the pop of red that the apples added to the top, especially against the darker brown. So, I added more in other places! Lots of little apples are scattered around the cake.

And did you notice the tiny cowboy hat?

Or the tiny little horseshoe above the horse's head?

One of the most time-consuming little detail pieces was the little hay bale. I really, really love how it turned out, but it took me an hour to do!

I started with a little rectangle of yellow fondant. I then used my extruder to make thin lines of yellow fondant that I cut and used to cover the sides of the rectangle to make it look like hay in the bale. I cut two more lines to wrap around, so it looked like the bale was bound. Finally, I cut teeny tiny pieces of fondant and placed them one by one with a toothpick onto the ends of the hay bale so that it would look like the whole thing was a bound pile of hay. It worked like a charm! But placing those tiny little dots of fondant took awhile.
By the way, I think I've mentioned this before, but I use this type of extruder for my fondant. (You can also find it at Michaels.) I used it with a different size and shape plate to make the rope that you see on the cake. The trick to making the fondant come out nicely without sticking and tearing is kneading small amounts of glycerin into the fondant until the fondant is very stretchy but not sticky. Also take a cotton swab and brush glycerin onto both sides of the extruder plate and in the barrel of the extruder. This technique has saved me many headaches!
The cake itself was vanilla with chocolate buttercream filling. It was all covered in chocolate ganache and fondant. The little barn was also cake!
I have it on good authority that the birthday boy loved his cake and that he had a very fun birthday. That is the best thank you there is! Happy Birthday Cal!
Love them apples, and the horse, and all the details, but I get a kick out of them apples for some reason. Very cool cake, and for a 3 yr old?! Sounds mighty tasty, chocolate buttercream, mmmmm.
ReplyDeleteThanks Pati! I love the apples too. They are so tiny and cute. Yes, that 3-year-old had a great cake and a big party this year!
ReplyDeleteadorable! I found your site b/c i'm looking to use my fondant to make little buckets of water (it's in the bible portion with Rachel by the well and i'm trying to figure out how to make it look real for our dessert this weekend). your bucket is gorgeous - did you stick together vertical panels or is it from one piece wrapped around and a 2nd circle for the bottom? the etching lines make it really look wood-like! congrats!!
ReplyDeleteThanks, Tammy! I actually just rolled a cylinder from brown fondant, flattened the bottom and indented the top (I knew it would be covered by the apples). I then etched the lines on the sides and marked it up just a bit. Good luck on your cake with the well!
ReplyDelete